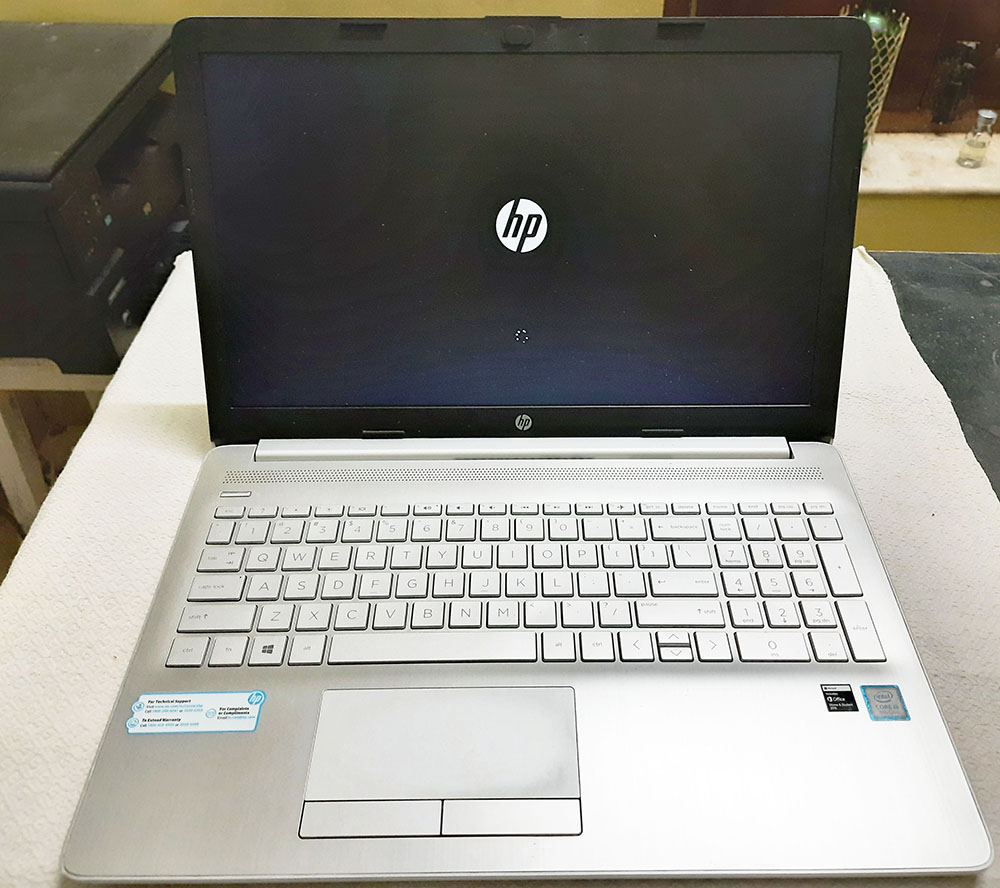
HP 15-da1030tu Laptop RAM Upgrade
November 2020HP 15-da1030tu laptop which was released in early 2019 was packed with good features only to be bottlenecked with a less RAM capacity. HP 15-da1030tu comes with different processor specifications and the installed RAM may vary based on your setup. The laptop which we are referring to in this article has a product ID starting with SPC90PA. Hence, if your laptop has the same product ID you can follow this guide. It was a shame that HP had shipped 4GB RAM along with a Core-i5 model which was way under the optimized capacity. This resulted in not enough RAM for the processing power that the laptop had.
Adding to the disappointment was the absence of any specs or RAM details for this laptop in the users manual. This meant that we could not crucial details for the RAM upgrade like the number of slots available and the maximum RAM capacity. We strongly felt that since HP is providing only 4GB RAM, they should have realised that most of them would go for a RAM upgrade and explicitly have mentioned the RAM details in some form of documentation. With that said, you guys have nothing to worry as we have figured out the number of slots and the maximum RAM capacity of this laptop for a smooth upgrade.
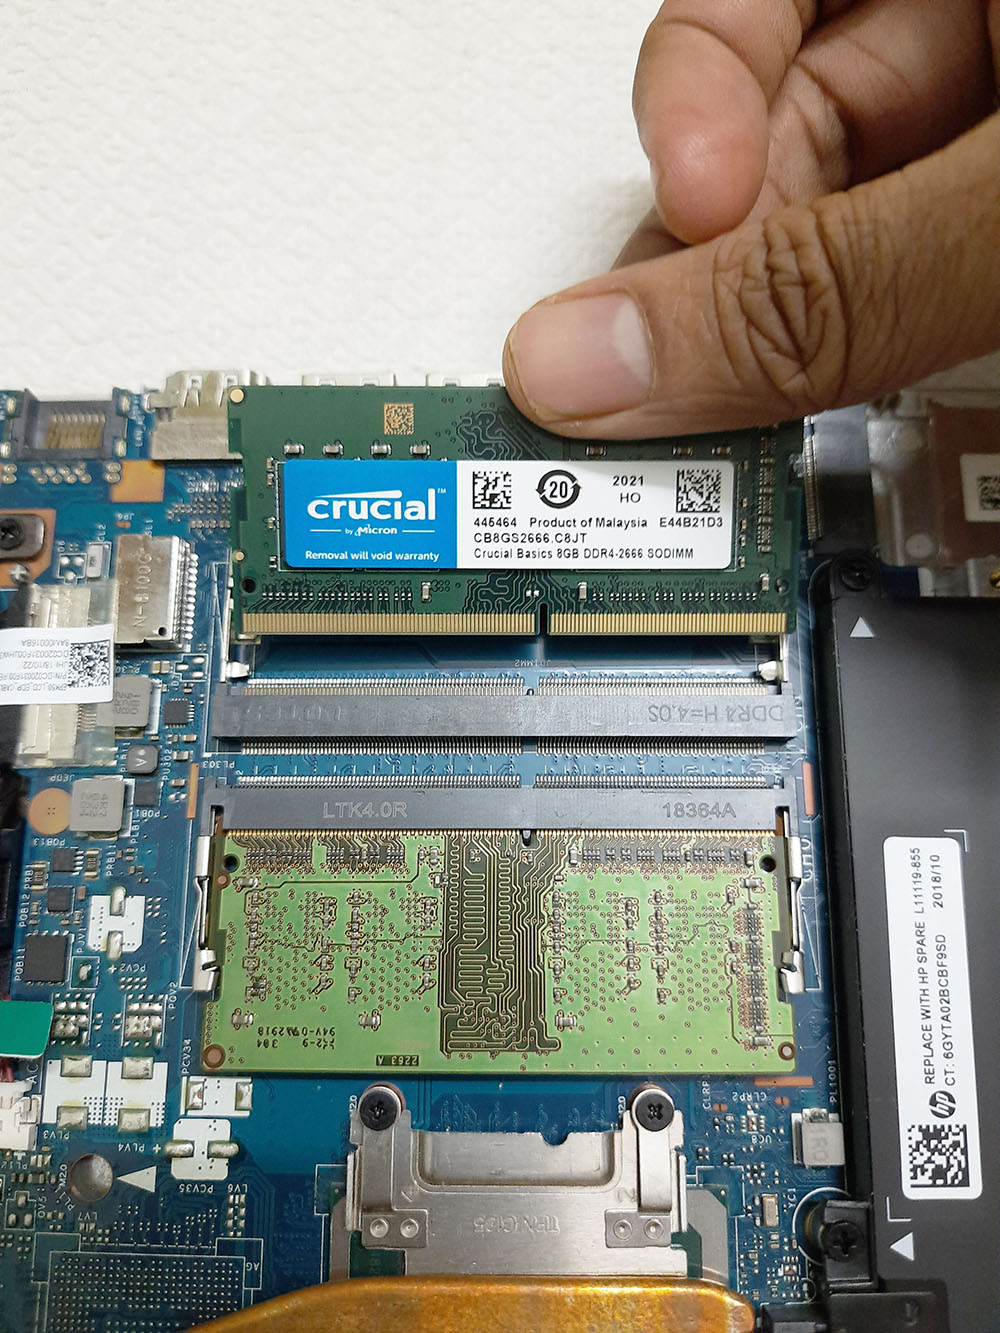
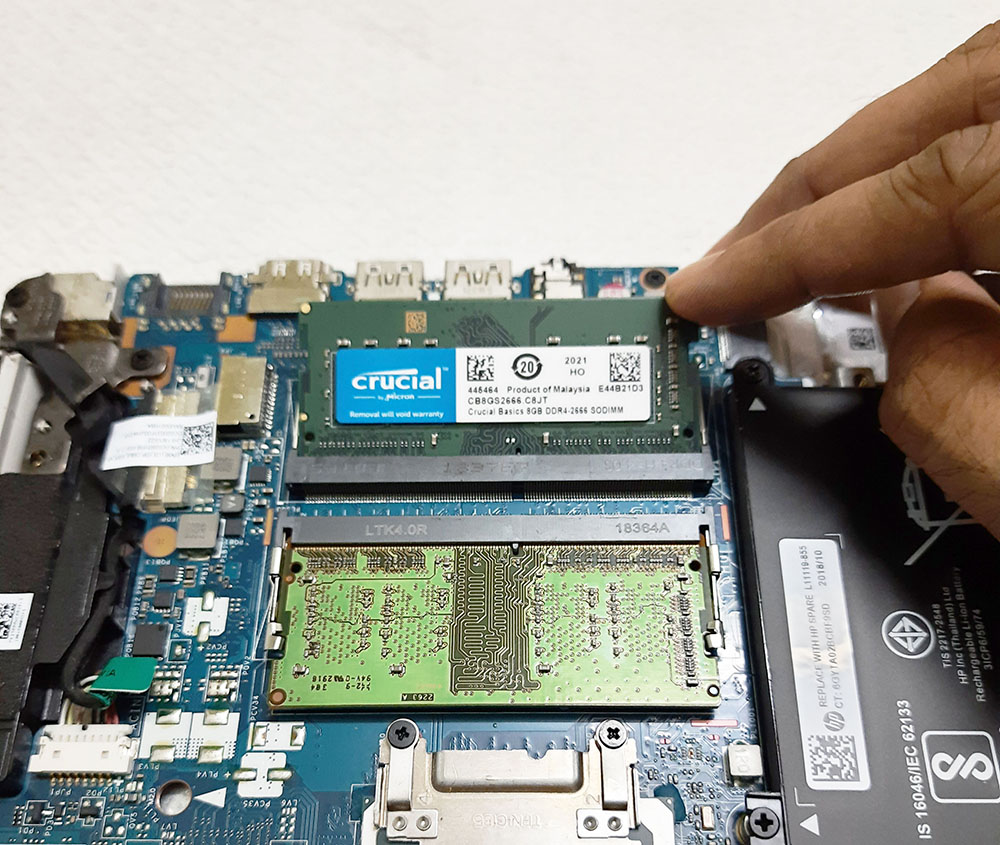
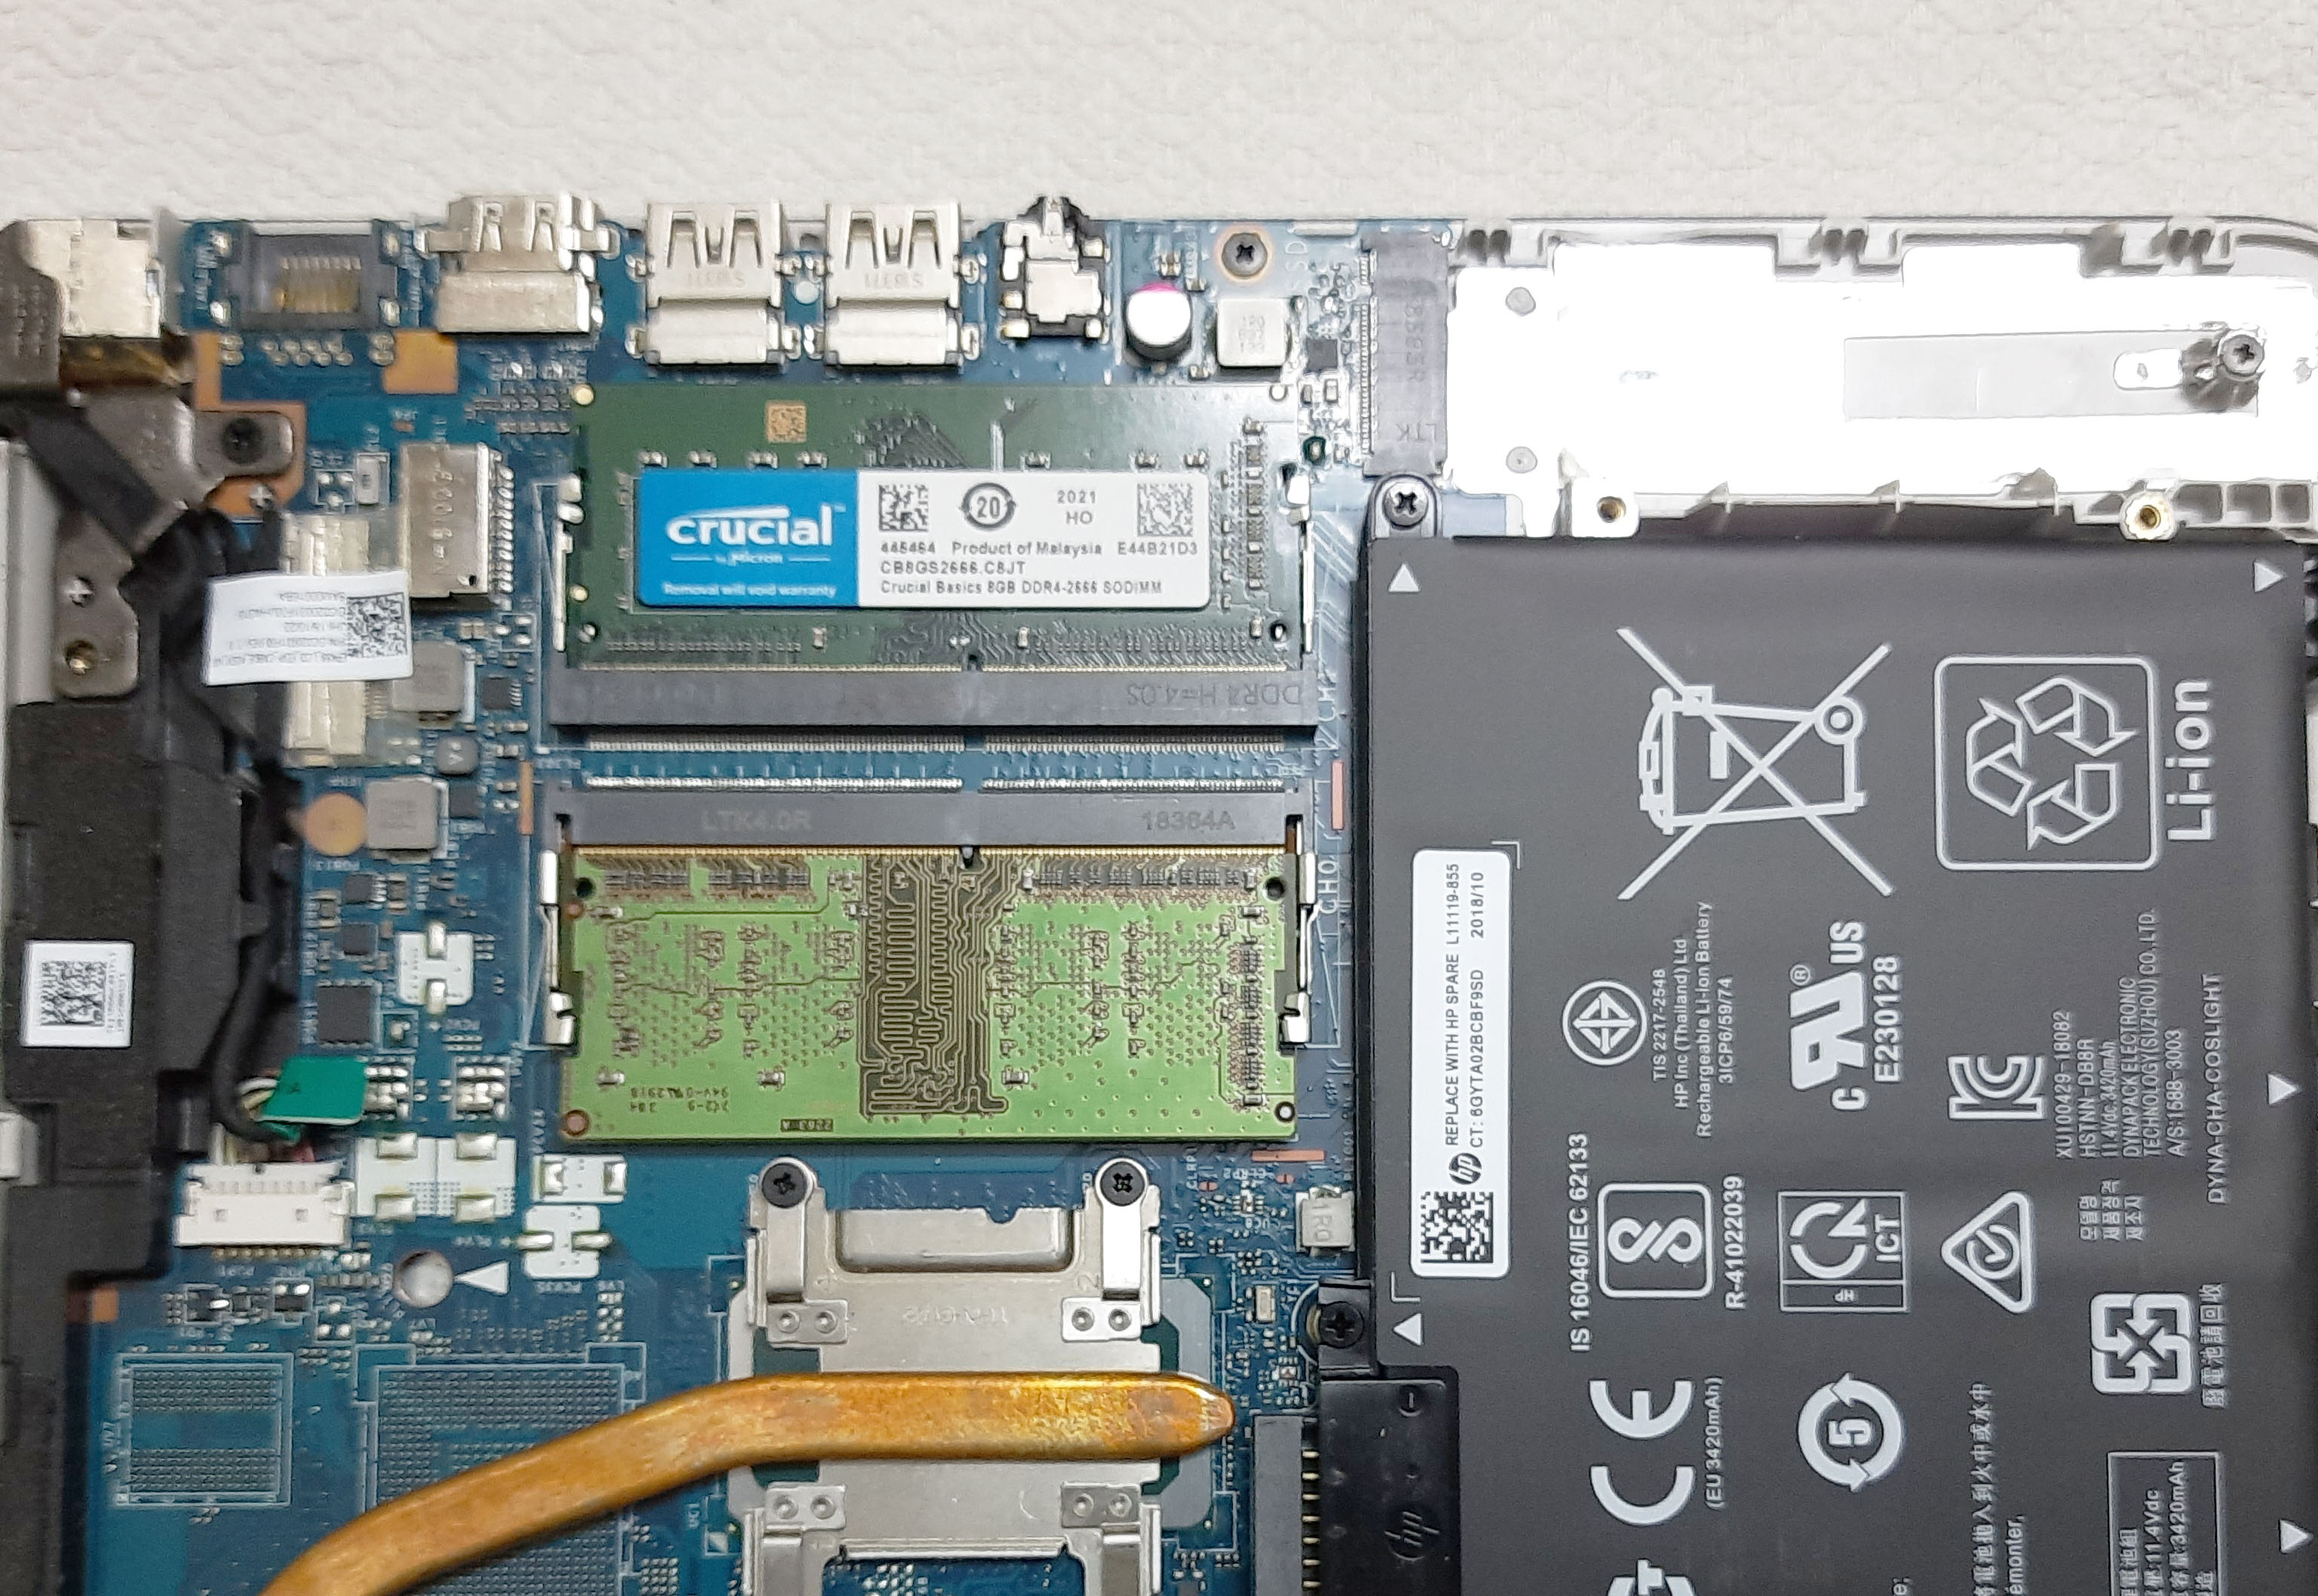
The HP 15-da1030tu has two slots and one slot is fitted with a 4GB RAM allowing you to add an extra 8GB RAM making it 12 GB in total. If you want more RAM, you can instead swap the existing 4GB for an 8GB Module and then add an extra 8GB in the spare slot provided making it to a total of 16GB.
Do I need to upgrade the RAM of HP 15-da1030tu?
Step 1 - Check the Slots, Maximum RAM Allowable and Amount of existing RAM
First and foremost you have to check if you have a slot present to add a RAM Module. Please refer how to check if your laptop can be upgraded by accessing the following link - what is the amount of existing RAM present and also crosscheck the RAM Type used by your Laptop. For this, we used Task Manager as it will give you the RAM type, RAM speed, No of slots used and total RAM installed.
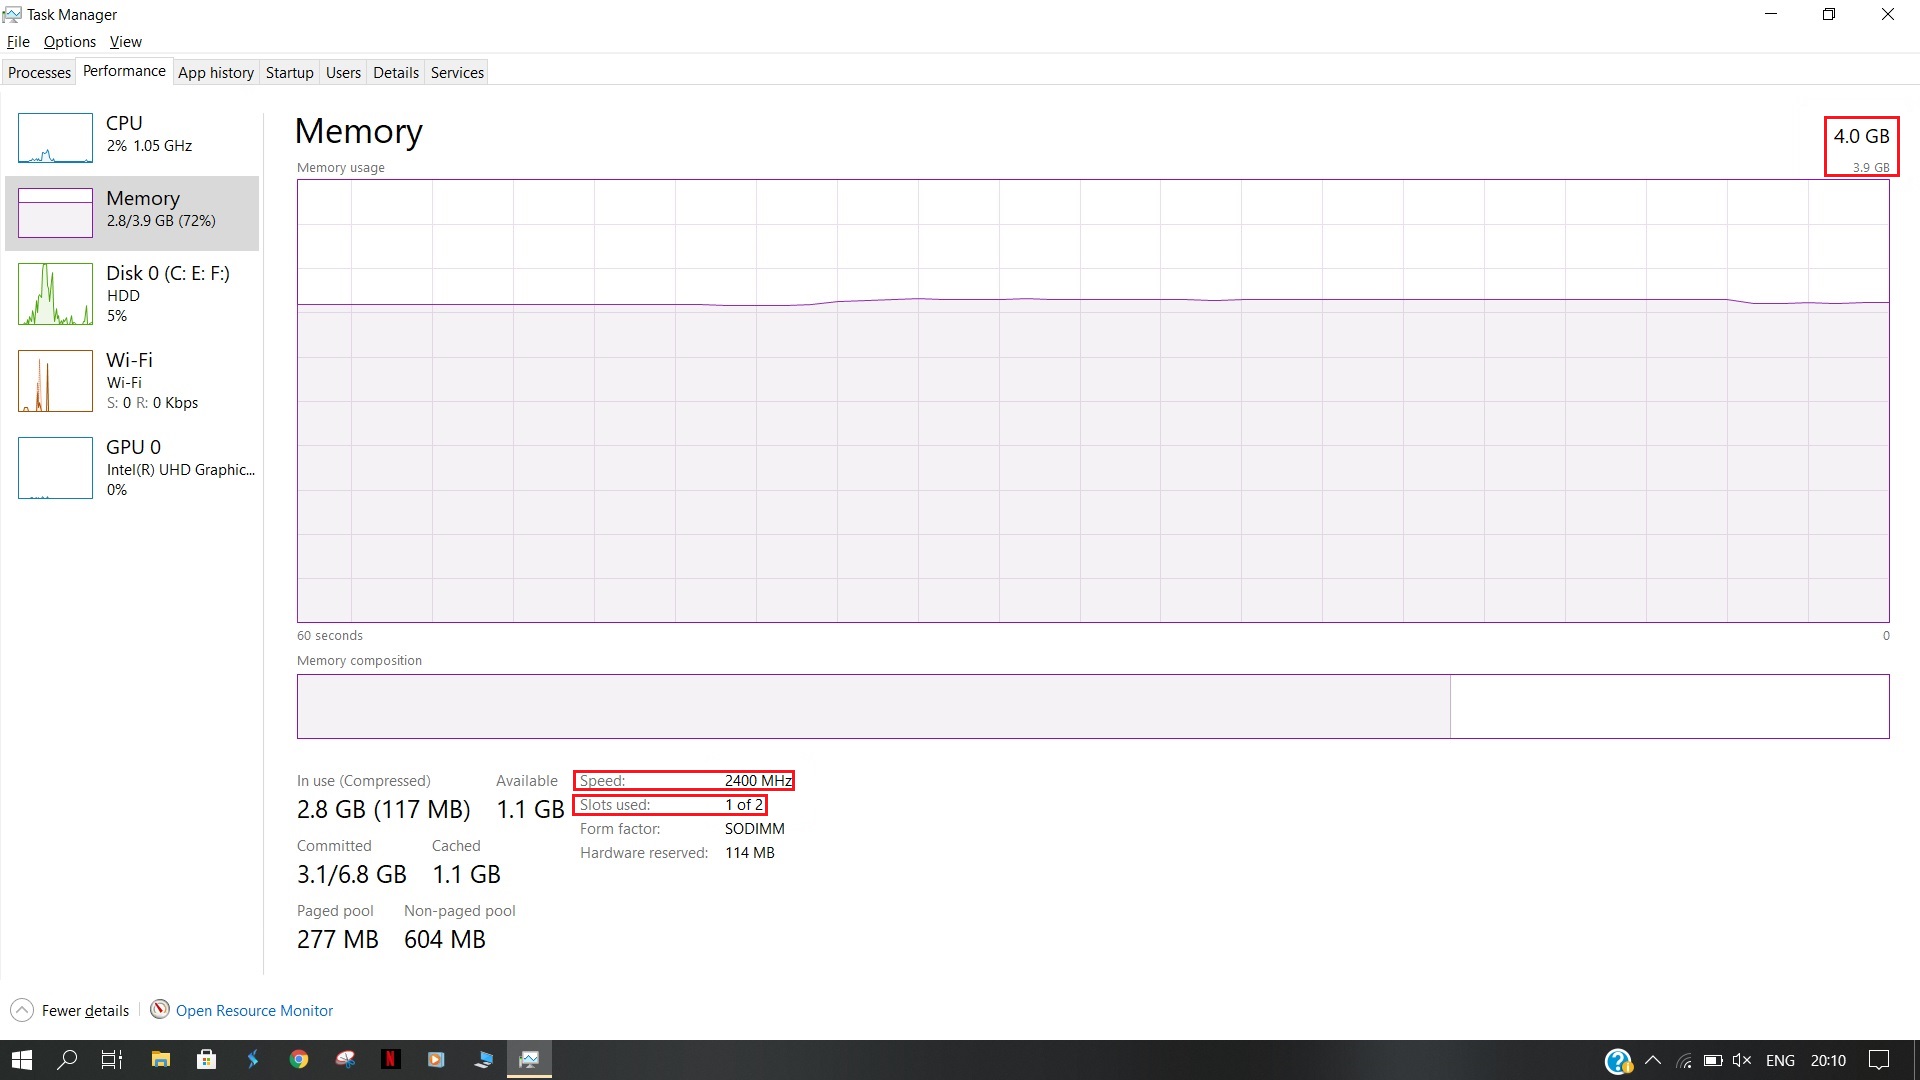
It is also always better to cross check your system for the current RAM configuration to be on the same page. To do this head over to Task Manager by pressing CTRL+ALT+DELETE, once in the task manager click on the Performance tab besides Processes. In Performance click on Memory below the CPU section. Here you will have to note down the details in the red boxes and check with the below:-
1. Slots Used : This has to be 1 of 2, if it is 2 of 2 it means all the slots are utilized. In this case you are only left with replacing the existing RAM to a higher capacity. It is advisable to do this only if any of the existing RAM is of 4GB as the maximum capacity each slot can take is 8GB.
2. RAM Speed : Please note down this speed, it should be 2400 Mhz. It is advisable to buy RAM of the same frequency.
3. RAM Size : This should be 4GB normally. If it is 8GB and only 1 slot is used, then you can add an extra 8GB and take the capacity to 16GB in total. If it is 12 GB, then both the slots will be used. In this case you can only replace the 4GB in one slot with 8GB taking the capacity to 16GB in total. In case it is 16GB, you will not be able to expand further.
4. RAM Type : There should not be mention of DDR3 or DDR2 in the box shown which means it is a DDR4 RAM.
Step 2 - Buying the RAM
1. Amount of RAM : Since the already present RAM is 4GB, you have two options by either adding 4GB of RAM or 8GB of RAM to make it 8GB or 12GB respectively. The max you can add is 8GB of RAM as it is mentioned in the manual.
2. Speed of RAM: Ideally go for the speed that is mentioned in the manual i.e. 2400MHZ. In case, you found the speed to be different in the windows task manager, please opt for that speed.
3. RAM Type: This should be DDR4 as standard. In case it is DDR3, then you have to strictly buy DDR3 RAM.
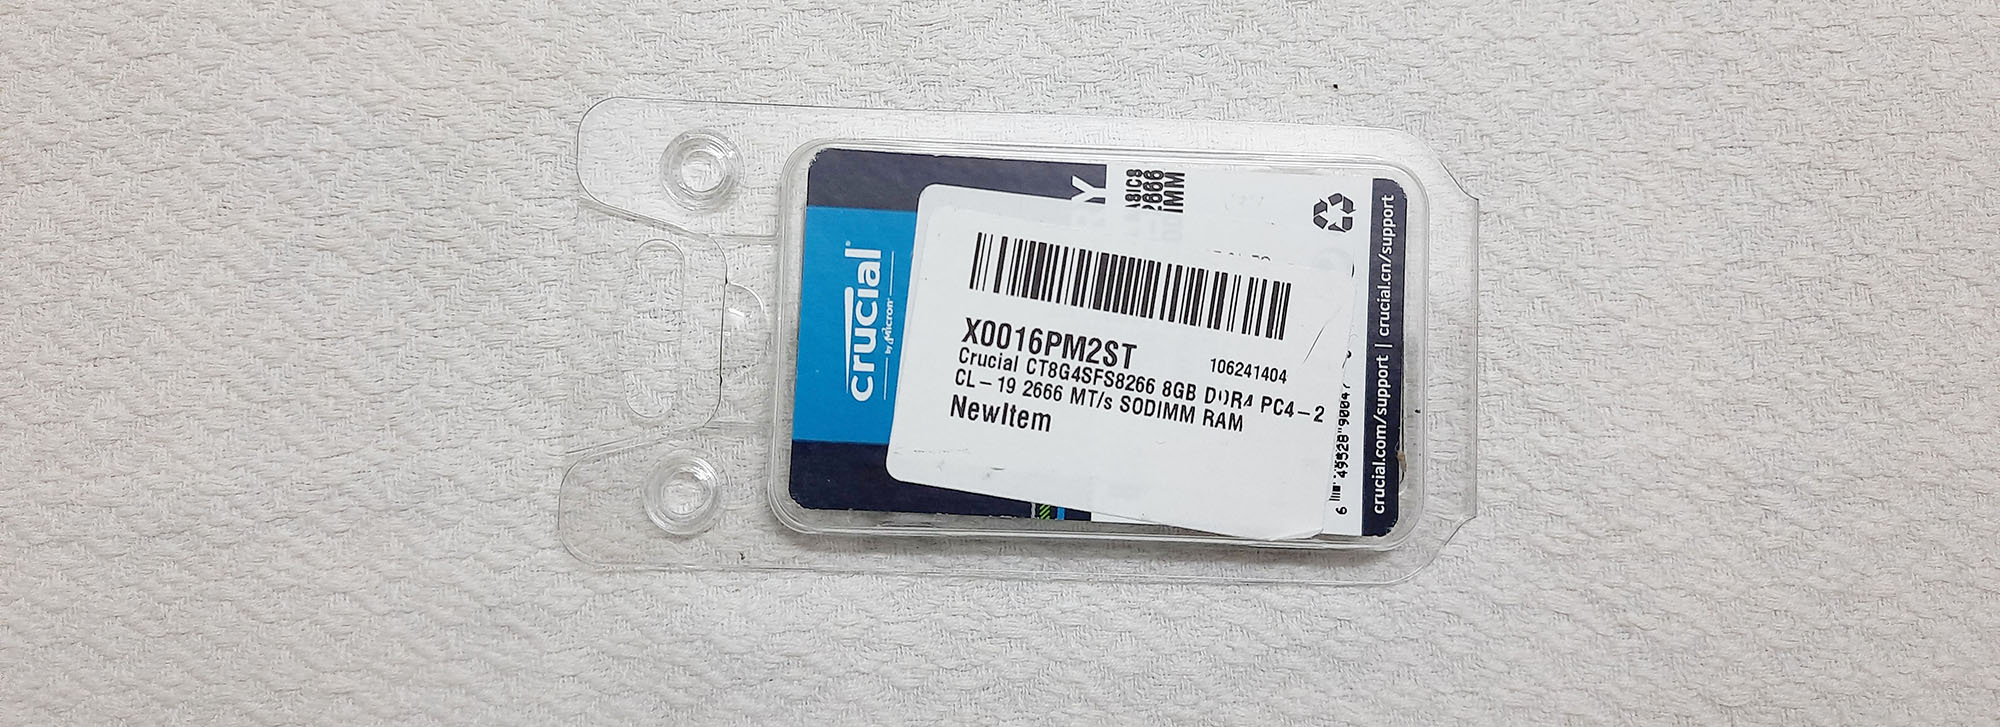
You can buy any of the below recommended RAM for this Laptop (Amazon.in affiliate links are provided), we have used Crucial Basics RAM for this article which gives good performance in a budget. We have given links for 4GB and 8GB RAM modules below and you can choose the suitable one based on your requirement.
8 GB RAM:
1. Kingston HyperX Impact 8GB DDR4 2400MHZ RAM-HX424S14IB2/8
Buy from Amazon.in2. Crucial 8GB DDR4 2400MHZ RAM-AUSE01G228
Buy from Amazon.in4 GB RAM:
1. Kingston HyperX Impact 4GB DDR4 2400MHZ RAM-HX424S14IB/4
Buy from Amazon.in2. Crucial 4GB DDR4 2666MHZ RAM-CB4GS2666
Buy from Amazon.inStep 3 - Setting up for the Upgrade
1. RAM : Carefully handle the RAM and make sure it is kept in the plastic case and should be only taken out during the upgrade to avoid any damage.

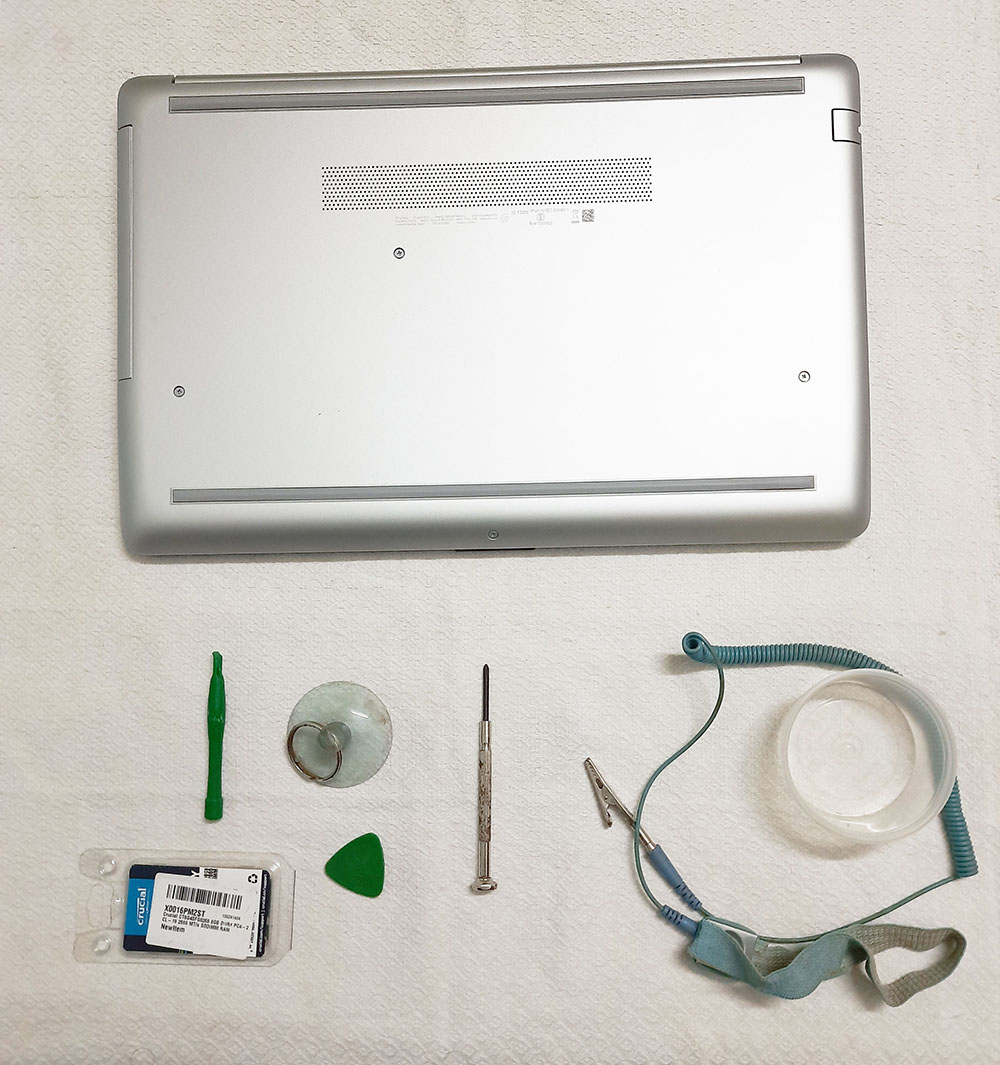
4. Pry Sticks(Optional) : An anti-static cable will ensure no static charge from our body damages any laptop circuit.
5. Anti-Static Strap(Optional) : An anti-static cable will ensure no static charge from our body damages any laptop circuit.
6. Plastic Container (Optional) : A container will ensure that the screws are in place which are more likely to be misplaced during operations like this. If you have all the tools in place, they will help you to ease the process and ensure that there is no damage caused to your laptop due to exertion.
Step 4 - Upgrading the RAM

1. Since this involves opening up your laptop "PLEASE UNPLUG YOUR CHARGER AND SWITCH OFF YOUR LAPTOP" before opening your laptop.
2. Please keep all the screws in one place and keep note of which screw goes where. There are 3 sets of screws and you have to note it.
3. During the course of this operation, you find some obstruction as to the cover not opening or cable not coming out, "PLEASE DO NOT FORCE" and remember "PATIENCE IS THE KEY". Hence, we highly recommend using the optional tools mentioned in the tools list as they will ensure minimum effort and best results.
1. First step is to switch off your laptop and wait for at least 2 minutes so that any hard disk movements will not be present.
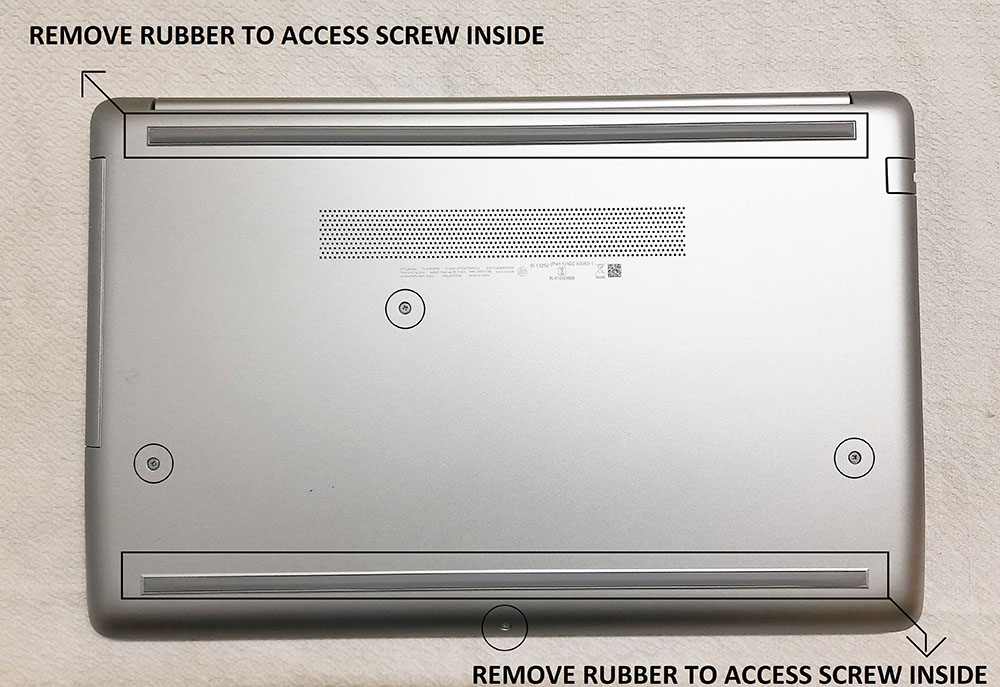
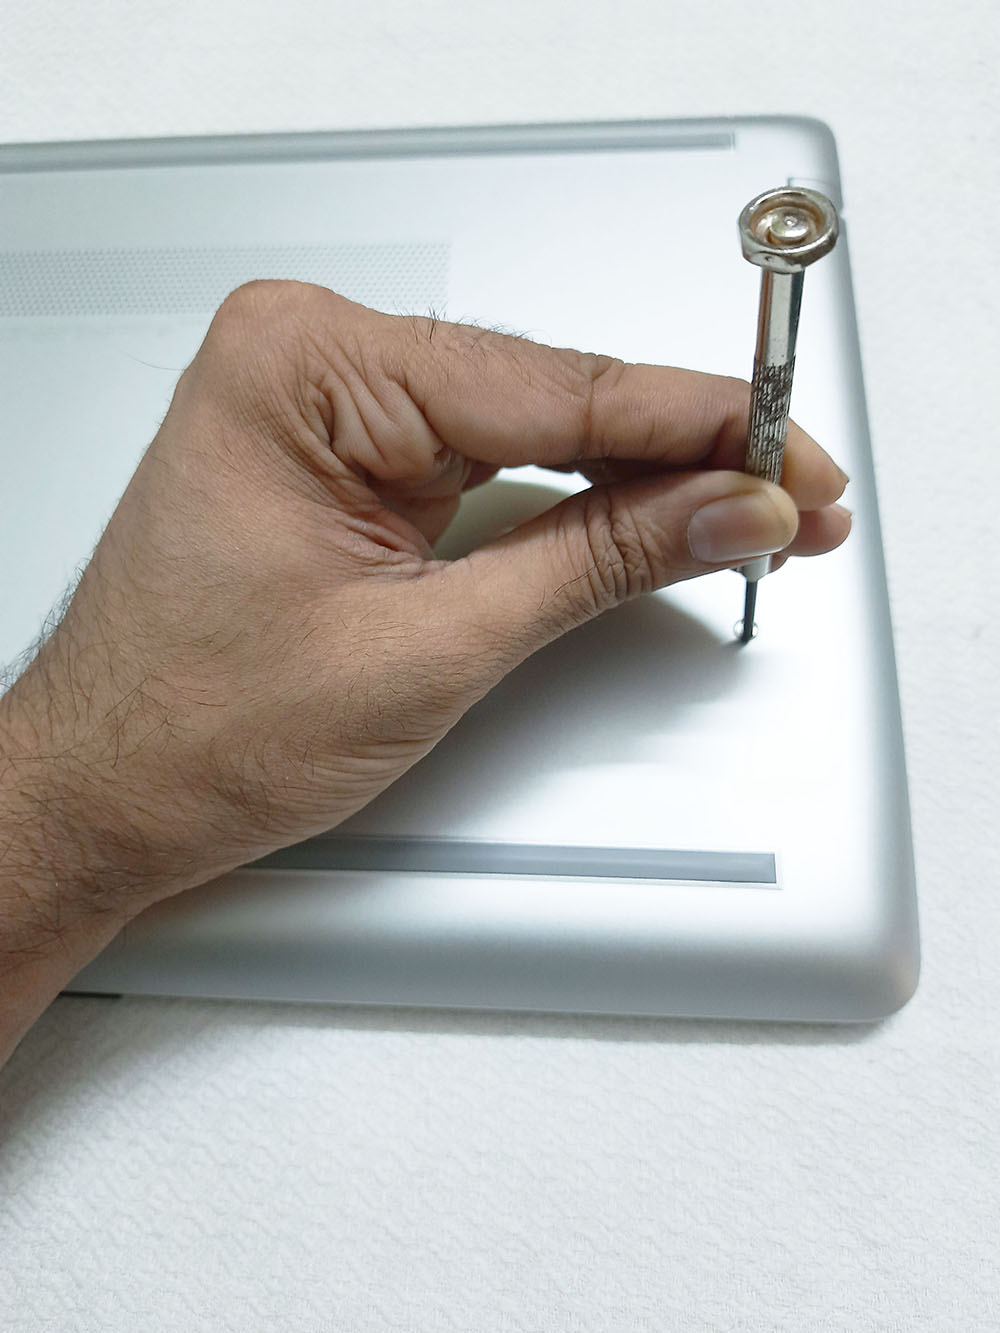
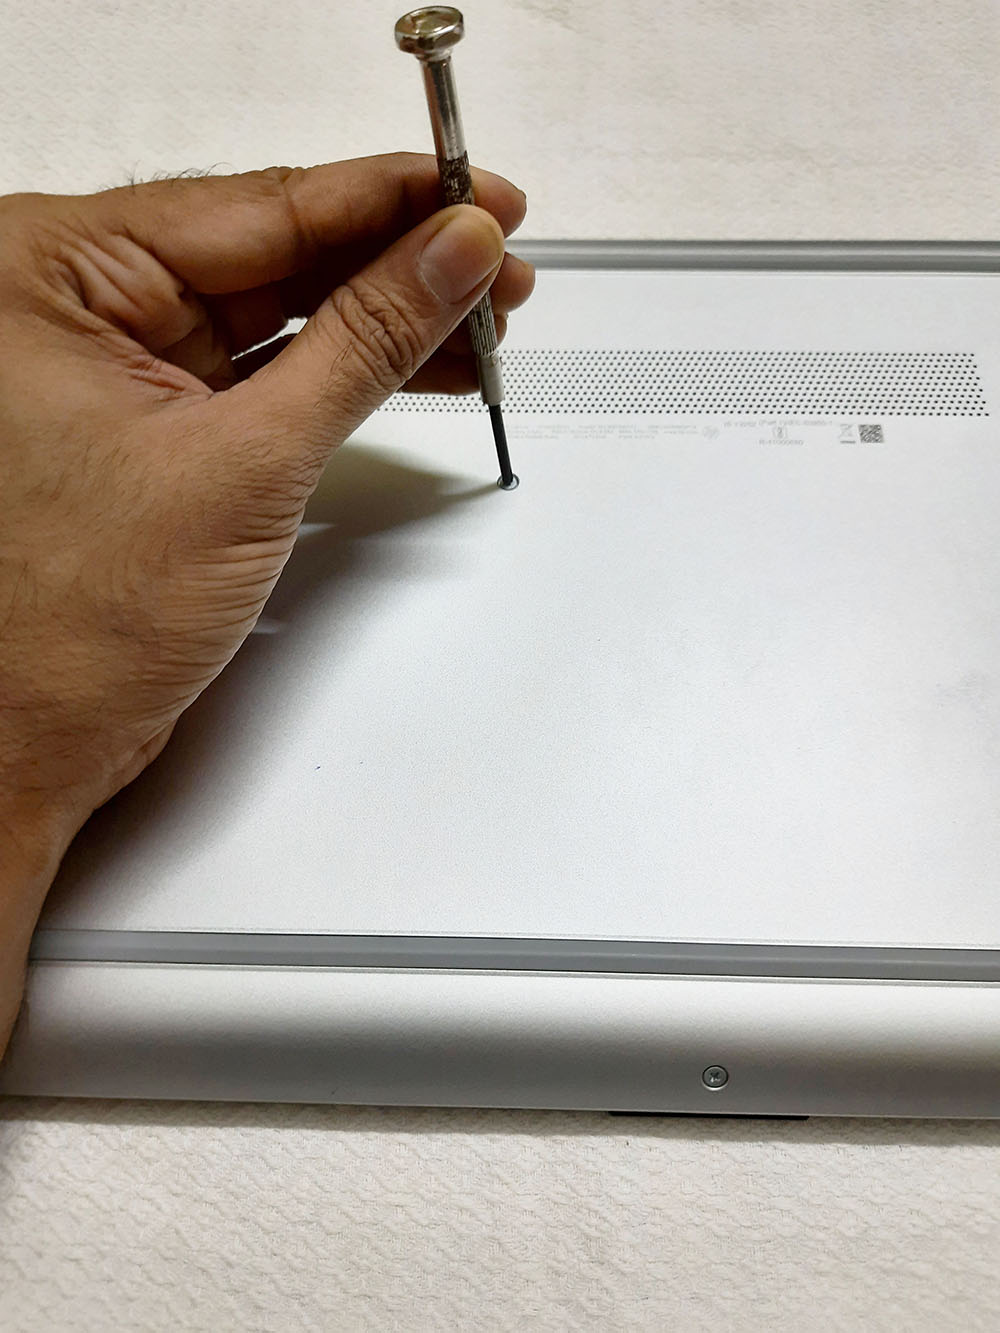
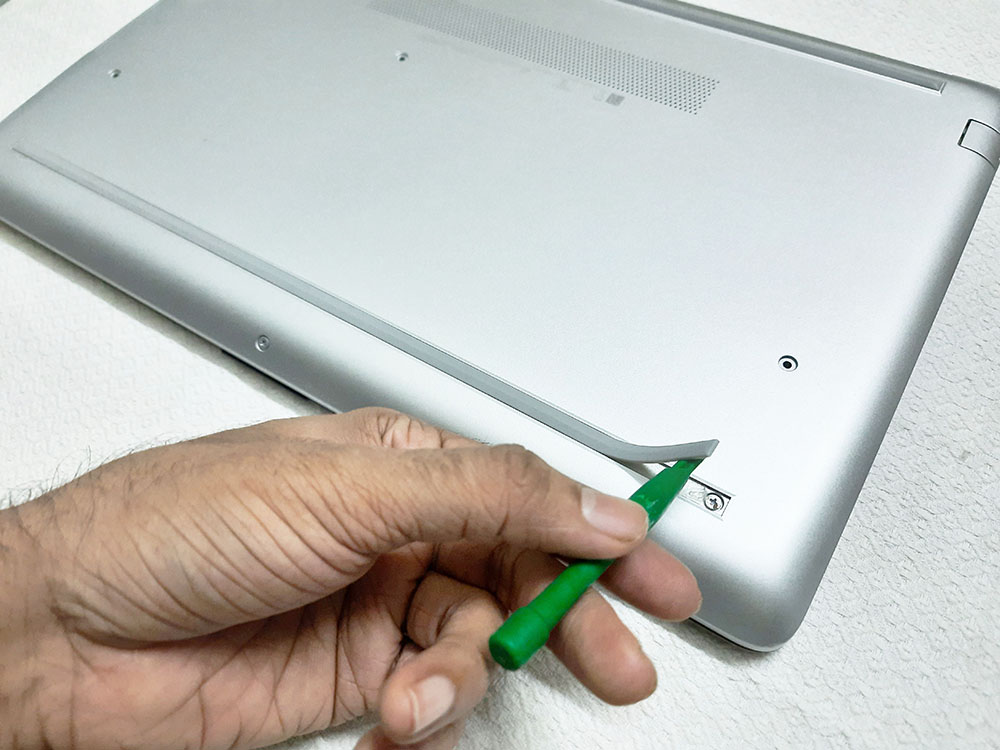
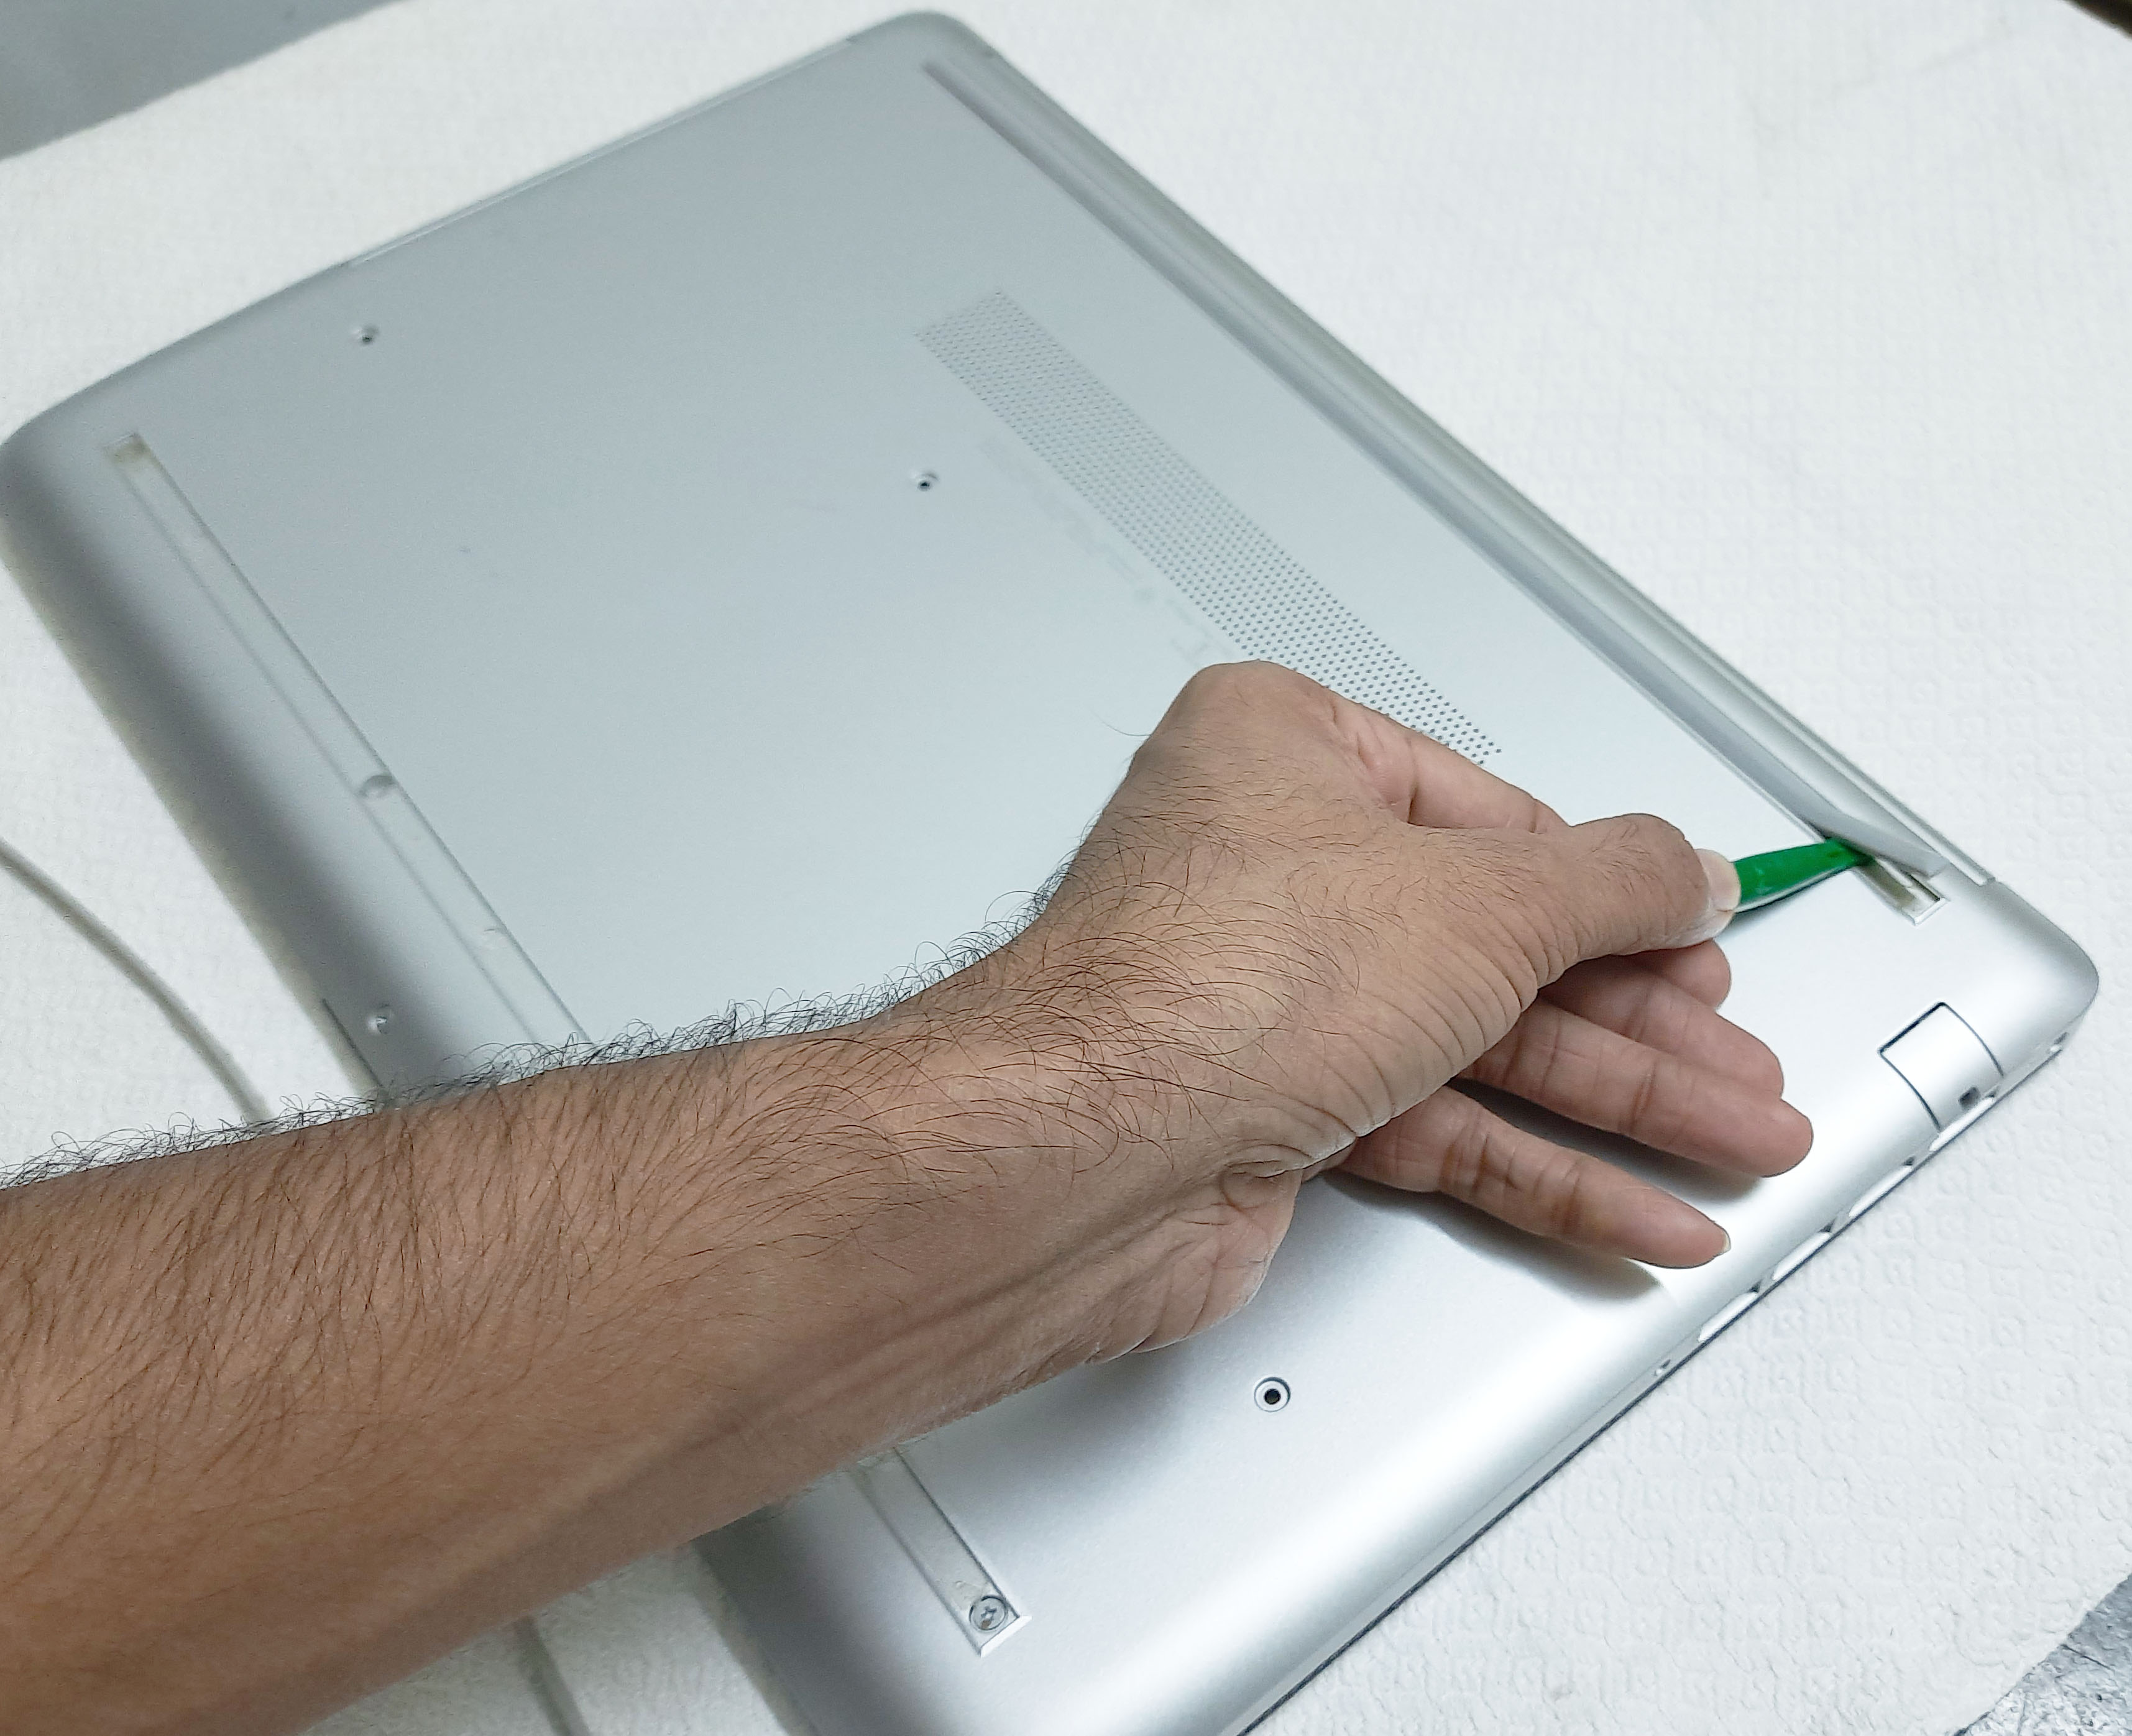
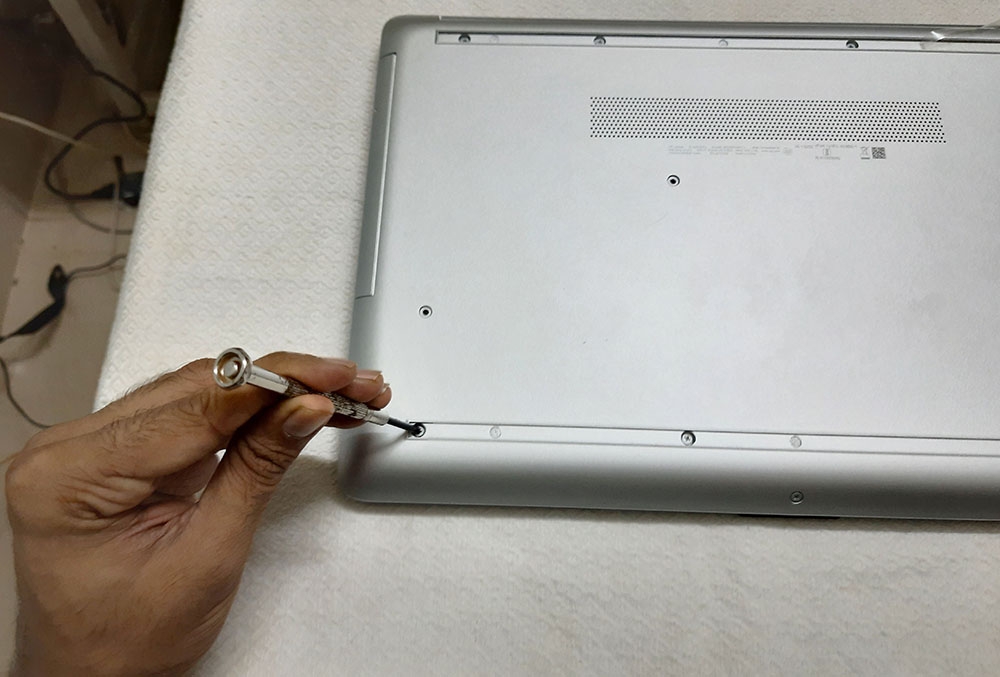
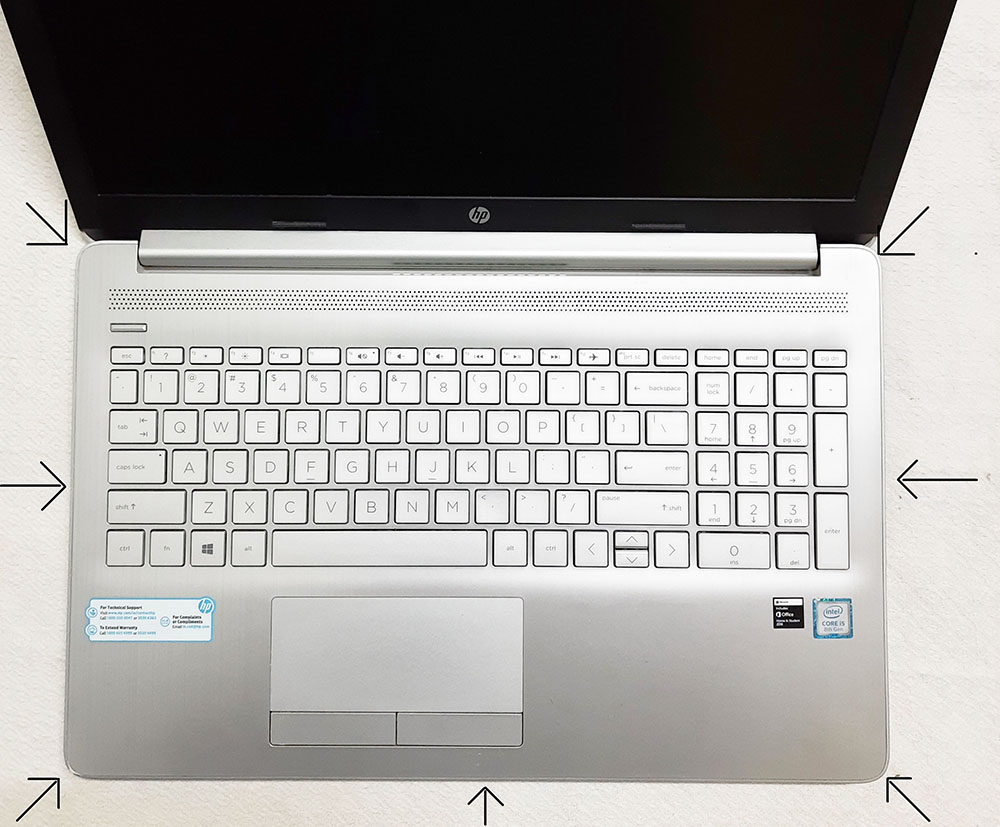
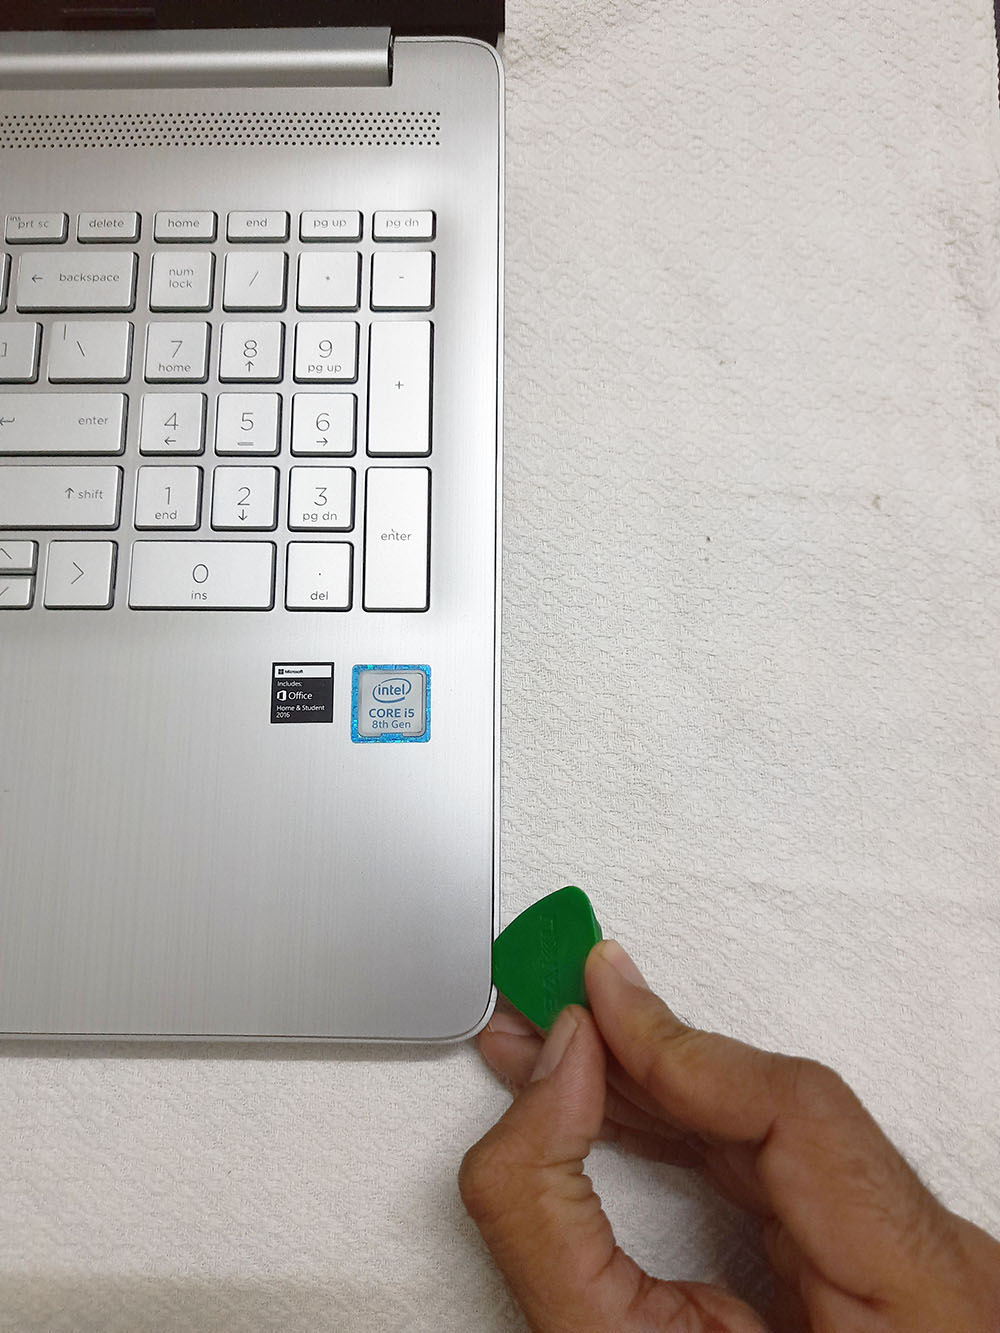
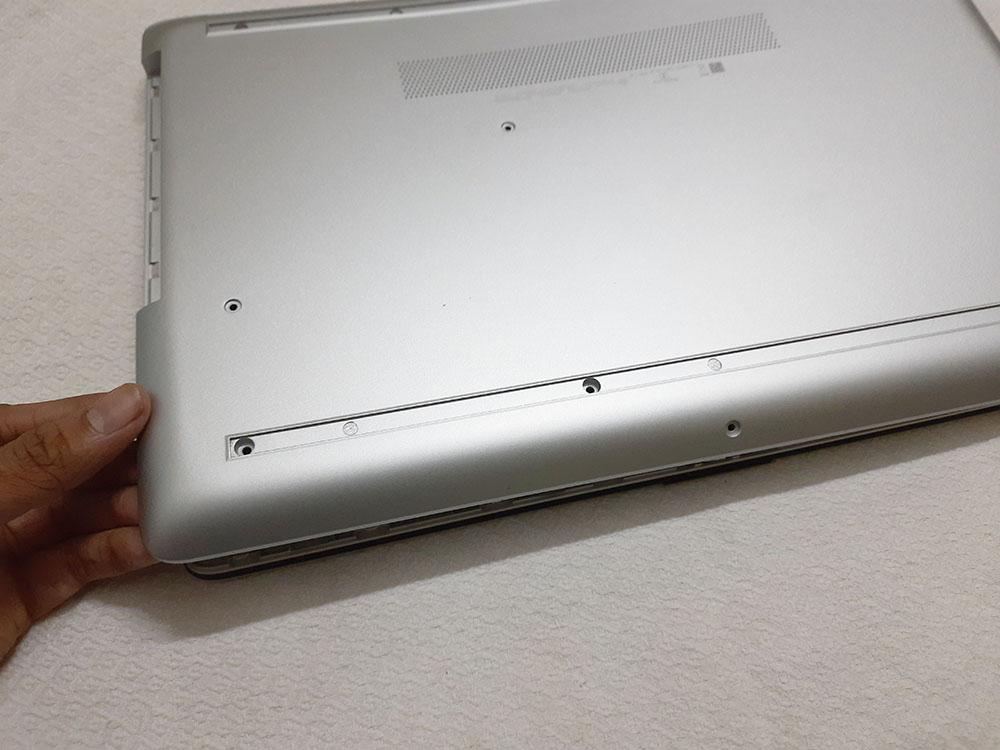
2. Turn your laptop upside down as shown, Fig 4.2 shows the back cover with the location of screws. Unscrew all the screws holding the back cover as shown in Fig 4.2a. You need to remove two rubber strips which conceals screws beneath them as shown in Fig 4.2c and 4.2d, unscrew all the screws once the rubber strips are taken of.
